
Knowledge base
1000 FAQs, 500 tutorials and explanatory videos. Here, there are only solutions!
This guide details the administrative procedures to transfer the management of a domain with the extension .de to another registrar than Infomaniak.
Transfer a .de domain elsewhere
As long as the administrative contact listed in the WHOIS of the domain to be transferred does not include an address located in Germany, it will be impossible to request the transfer code. Refer to this other guide to modify the coordinates.
Otherwise, you can delete the domain name and in this case you must…
- … or contact Infomaniak support (by entering the email address listed in the WHOIS records) and request deletion
- … or wait for the domain to expire, after which it will be transferred to DENIC, whom you can contact to request its final deletion.
This guide explains how to add or modify one or more SRV type records in the DNS zone (of a domain name) managed on the Manager Infomaniak.
Introduction
- This type of record indicates which services are available for a domain.
- They are often used for the XMPP, LDAP protocols or to configure Microsoft Office 365.
Modify the DNS zone
Refer to this other guide to manage this type of record in a DNS zone.
This guide helps you protect the reputation of your domain name to maintain the trust of internet users and service providers towards your website or your company, this to facilitate more generally the proper functioning of your email.
The Web reputation
There are different types of reputation on the Internet, including personal reputation, company reputation and domain reputation.
Domain reputation is essentially a score that determines how mail systems decide what to allow into users' inboxes. Fundamentally, your domain's reputation is a measure of the health and legitimacy of your domain. This reputation can be influenced by the security of the email and website.
For example, a domain's reputation may decrease if…
- … the website visible at the domain address is hacked, leading to the mass sending of fraudulent emails,
- ... the domain's email is exploited for the involuntary sending of spam.
If your domain's reputation remains poor, your emails may be marked as spam and not reach their intended audience. This can harm email deliverability (refer to this other guide in English for more information).
Improve the domain reputation
By following these few tips, you can improve the reputation of your domain and, for example, boost all your email marketing efforts:
- Set up and check SPF, DKIM and DMARC records to help protect your domain against identity theft attacks.
- Check your domain's reputation with tools such as Google Postmaster Tools, Sender Score, Microsoft SNDS, McAfee or Talos Intelligence and identify potential issues.
- Send emails only to users who have chosen to subscribe!
- Get trusted links or backlinks…
Check out this other guide about RBL.
This guide concerns the authentication tokens or tokens, which are used to verify the identity of the application and to grant it specific permissions to interact securely with the features and data of the API.
Preamble
- Authentication tokens or tokens serve to verify the application's identity and grant it specific permissions to securely interact with the features and data of the Infomaniak API.
- There is no limit to the number of tokens you can create.
- The duration of an access token is "unlimited" by default, but it is possible to set a custom duration at its creation.
- Warning, if no call is made with the token for a year, it is automatically deactivated; it will then be necessary to generate a new one.
Manage Infomaniak API tokens
When creating an API token, you will be able to select the application and the scope accessible by the token (to match your current needs and project).
For this:
- Click here to access the management of your product on the Manager Infomaniak (need help?).
- Click the blue button Create a token.
- Select the appropriate product from the dropdown menu according to your current need and project.
- Choose a validity period.
- Click on the blue button Create a token.
- Enter the password to log in to the Manager as requested.
- Copy the token to a safe place - it will no longer be accessible after that.
Application example: token for the Newsletter API
This guide concerns domain names called Premium.
Preamble
- These domain names are designated by the registries as having strong commercial potential for referencing or branding.
- The prices for these domains are set by their registry or by their current owner and do not particularly depend on the extensions (
.com,.net, etc.). - A
.artdomain can be found for less than 10 EUR, just as it can be bought for more than 300 EUR. - Everyone can buy a premium domain.
Recognize this type of domain
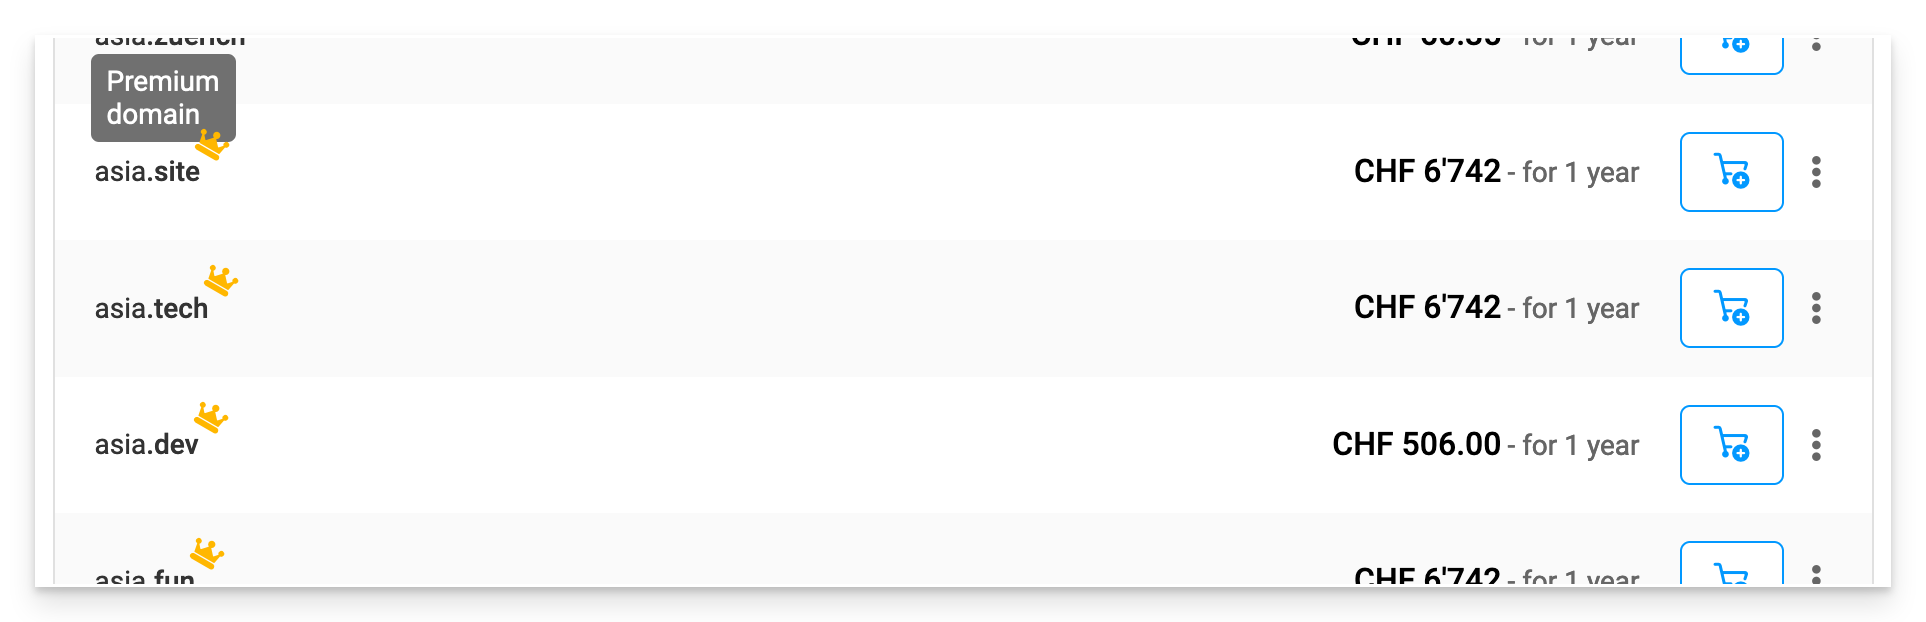
On the Infomaniak shop, the premium domains are marked with a crown to differentiate them. Here is an example:
The 3 characteristics of a premium domain
- High commercial value
- Memorable and easy to remember
- High traffic potential
Why register a premium domain name?
- Renewal at standard price: the price of a premium domain is high the first year, but the cost of its renewal is generally the same as that of a standard domain
- Easy transfer: the price of a premium domain generally includes the transfer of the domain and the change of ownership
This guide explains how to connect a site created with Site Creator Infomaniak to a domain name present in your Manager.
Connect Site Creator to a domain name
To connect Site Creator to an existing domain name in your Infomaniak account:
- Click here to access the management of your product on the Infomaniak Manager (need help?).
- Click directly on the name assigned to the relevant product.
- Click on Connect my site to a domain to start the configuration assistant below:

Manage the Site Creator domain(s)
To manage the domain name(s) used with Site Creator:
- Click here to access the management of your product on the Infomaniak Manager (need help?).
- Click directly on the name assigned to the relevant product.
At the top of the page, any messages regarding issues with Site Creator and domains are displayed.
Below, you can manage your domains if there are any:
Temporary address, preview URL
Several domain names can be linked to Site Creator, deleted or swapped and reversed if necessary:
However, the preview URL, of type abcd.infomaniak.site and distinct in the list of Site Creator domains, can never be deleted for the proper functioning of your site:
This guide describes the meaning of TTL, an abbreviation for «Time To Live» as well as the principle of DNS propagation delays, important concepts in the operation of domain name-related services.
Preamble
- The TTL determines how long DNS information is cached before being updated.
- This directly affects the speed at which DNS changes propagate across servers worldwide.
- While reducing the TTL can speed up propagation, the behaviors of ISPs and their caches can introduce additional delays.
The TTL (Time to Live)
The TTL (Time to Live) is a key parameter in managing DNS records. It represents the duration, expressed in seconds, during which DNS information can be stored in cache before being updated. When a DNS server or Internet Service Provider (ISP) queries a DNS zone, it temporarily keeps the responses obtained to reduce the load on servers and speed up browsing for users.
For example, if the TTL is set to 24 hours (86,400 seconds), the DNS information related to a domain will be cached and will not be updated for the entire duration, even if you have modified parameters such as the domain's IP address. This means that DNS changes will only take effect once this delay has elapsed.
It is possible to speed up the application of changes by reducing the TTL before proceeding with updates. For example, lowering the TTL to one hour (3600 seconds) allows DNS servers to check the new information more quickly after a modification.
DNS propagation
The TTL is directly linked to the DNS propagation process. DNS propagation refers to the time required for changes made to a DNS zone to be disseminated across all DNS servers worldwide. This delay depends not only on the configured TTL, but also on how Internet Service Providers (ISPs) and other DNS servers manage their caches.
When you modify DNS records, DNS servers and ISPs must wait for the TTL period to expire before fetching the new information. Thus, the shorter the TTL, the faster the changes propagate through the network. However, some ISPs sometimes ignore the TTL duration and keep the information cached for a longer period (for example, 24 hours or more), which can slow down the propagation of DNS changes, even if you have configured a reduced TTL.
This guide explains how to replace, within a Web hosting Infomaniak, the address of a site currently subdomain (https://dev.domain.xyz e.g.) by the main domain (https://domain.xyz).

Preamble
- Operations in brief:
- Start with a site created and accessible by the URL of the main domain
dev.domain.xyz. - We're adding an alias to him.
domain.xyz. - The two types are reversed (the main domain becomes alias and the alias becomes principal).
- We're taking the old name off.
dev.domain.xyz.
- Start with a site created and accessible by the URL of the main domain
- Note that the location of the site remains in the original folder on the server; the name of this location may be in the form
/sites/dev.domain.xyzbut this has absolutely no impact on the site in production. - Also take note of the last chapter of the this other guide.
Detailed operations
To move from a site with a subdomain-type address "dev.domain.xyz" to a direct address "domain.xyz":
- Click here in order to access the management of your product on the Manager Infomaniak (Need help?).
- Click directly on the name assigned to the product concerned.
- Then click on the chevron to develop the Domains section of this site:
- Click the Add Domain button:

- Add the desired new name, check the corresponding boxes.
- Click on the button to Confirm:

- Once the addition has been done, click on the action menu to the right of the item.
- Choose to define the element as the main domain:

- Validate the operation to reverse the domains.
This guide explains how to add a type recording ANAME in the DNS area (of a domain name) managed on the Manager Infomaniak.
Preamble
- The type of recording
ANAMEschematically allows the pointing of the root of one domain to another address, as a CNAME registration but could be added without having to specify a xyz source before the domain ( xyz.domaine.com e.g.). - It is therefore not a real DNS record as such and it is not presented in the list of records can be selected when editing the DNS area.
- However, since this is a sort of alias, the following is the method to be followed for setting up a
ANAME.
Create an ANAME
Create a ANAME is to create a CNAME directly at the root of the domain and this is not possible.
If you are certain of what you are doing, you can follow this method to create the equivalent of a ANAME:
- Create a Web redirection from the Root Manager of the domain (root) to the www.
- Add a CNAME entry Working with www to the target of your choice.
This guide is for owners of a domain name on the infrastructure who are having a DMARC issue when using certain Google tools like Meet or Calendar.
Fix a DMARC error
To make the configuration of your domain name (with a DMARC policy of type reject) compatible with the use of certain Google services, it is necessary to add a corresponding SPF record:
- Before:
v=spf1 include:spf.infomaniak.ch -all - After:
v=spf1 include:spf.infomaniak.ch include:_spf.google.com -all
To edit the SPF currently configured in the DNS zone of your domain name:
- Click here to access the management of your product on the Manager Infomaniak (need help?).
- Click directly on the name assigned to the concerned product.
- Click on DNS Zone in the left-hand menu.
- Click on the action menu ⋮ located to the right of the TXT record containing the relevant SPF value:

- Click on Edit.
- Edit the field by adding
include:_spf.google.comon the same line after the existing include Infomaniak, and before the ending-all. - Click on the Save button:

Any DNS addition or modification can take up to 48 hours to propagate.
Refer to this Google documentation if you are looking for information on configuring Google's SPF.